This is one of the tasks as I was dreading as I knew it would be fiddly, but I actually gained great satisfaction from it! I had the dimensions of the pennon and my mock up with the Danny Devito, but it’s not something you can really math. This is because wargaming figures aren’t true scale, so sometimes you need to make things a bit bigger or smaller to help the overall effect.
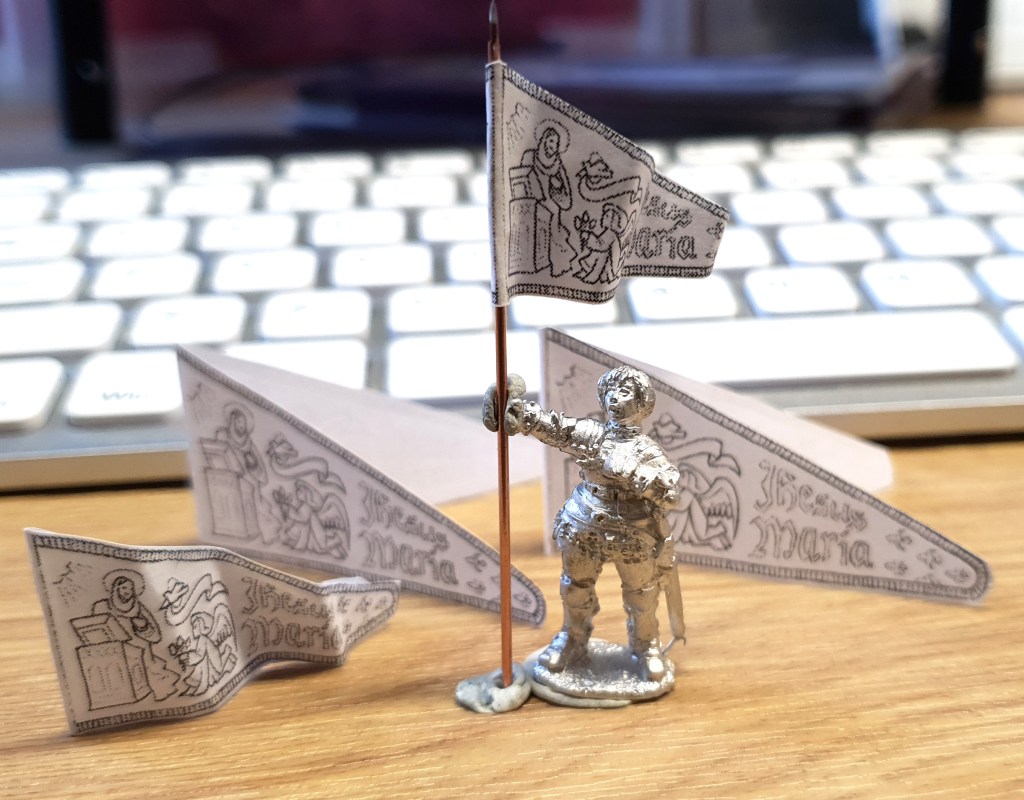
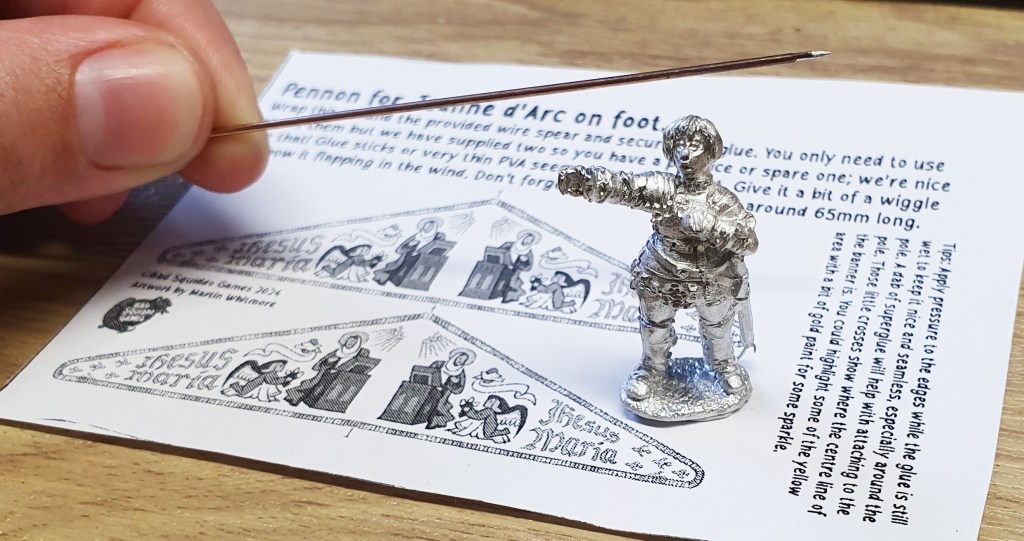
I had a starting point, and then printed off a whole bunch of banners in very similar sizes, playing around til I had what I felt to be right. I then consulted with some chums (Thanks Louis, Jon and John!) and went a fraction smaller. This is both “close enough” to the documented reality and “cool enough” to show off on the battlefield I mean tabletop. Also, I had to figure out how long to cut the spear, as the one provided is very long (There are smaller ones we can use but they’re much thinner, like a fine sewing needle!). The spear is 100mm long and I decided that around 65mm from tip to tip works well, though you can go a bit longer or shorter if you wish.
The pennon will be full colour, we only have a black and white printer at the office so that’s what all my tests are in.

To clip the wires I recommend stronger clippers than usual, not the standard hobby clippers. Personally, I use the Xuron 2193 Wire Shear Cutters. There is no affiliation or anything, just the ones that work for me! If you haven’t got suitable clippers yet I definitely recommend picking up something like these, as they come in handy for all the wire spears you’ll ever encounter! They cut so easy too! And aren’t a huge expense. Much better than thinking “ah my usual clippers will work” and then having to replace those, AND buy strong wire clippers. Ahem. Like some, folk, that aren’t erm, me.
Once the size was decided on, the next query was the paper type, and thickness. I was tempted to go with matt as the real banner would be fabric, but then the print wouldn’t be as optimised as say, silk. Silk is always my favourite! I cut out the size of the flag using one of my packaging inserts, which are 150gsm silk. I didn’t glue it perfectly as I was just messing around, but it worked pretty well. It has a nice quality feel and holds the “wiggle” shape well. It needed to be slightly thinner, so I finally have ordered in 130gsm.

I use a variety of print companies, this time I went for some next day online company, so that I can check it all out tomorrow and start getting cracking on with these.
The final task was filling in the rest of the sheet that the pennon comes on. Seen as I am so.. as we say in the UK “cack-handed”, I decided that everybody would get TWO copies of the pennon – JUST IN CASE.
Not that it’s any more difficult than other banners, but I imagine it would be a right bummer to make a mistake the first time around, like getting the glue stuck wrong or dropping it in your cup of tea! It doesn’t cost us any more to do this, so why not? It means you get have to a “practice go”.
It does mean that there is less space for instructions but hey, who needs those? (me- I do!) I crammed them in! Mostly top tips! So here is a sample of everything you get (PLUS the Collectable Card if you’re in the first 100). And all for just £5. The Community Minis are price locked at £5 for the first hundred and may increase after that, so now is totally a good time to snag your Jeanne!
Now I’ve ordered these, it’ll be exciting to see tomorrow how they have came out! I’ll do a test with one of my plain spears, and then brave adding the flag to the expertly painted John Morris copy that I have….EEEEEP.
I’ve been staring at flags and spears all day to the point they don’t look real any more, so it’s time to have a stretch and tidy the office I think!
Cheers All
Annie
